")
")
Setting instructions 3CX
Sip Trunk settings for 3CX
Click on “Sip Trunks” on the main menu
Click on “+ Ad Sip Trunk”
The popup “Ad SIP Trunk/VoIP Provider appears
Select from the dropdown menu “Select Country” the “Generic” Entry
Select from the dropdown menu “Select Provider in your Country” the “Generic SIP Trunk” or “Generic VoIP Provider” Entry
Attention Keep in mind if you select “Generic SIP Trunk” it must be Register/Account based in Authentication Type section

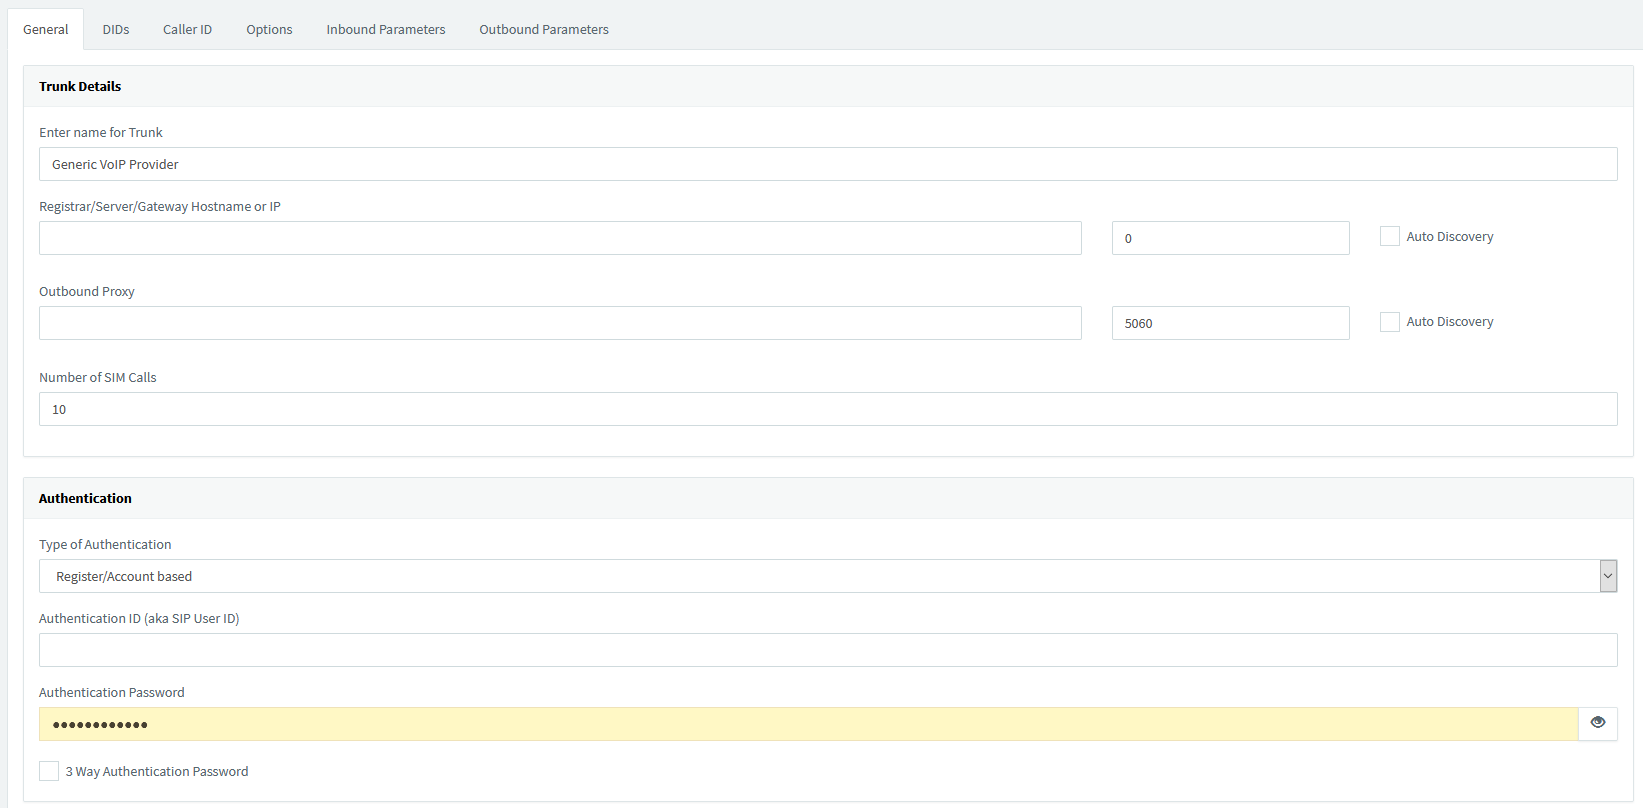
On the tab General
Section Trunk Details
Enter a Name for your Trunk
Enter your Register server Like “sip.domain.com”
Uncheck the Auto Discovery cheek box, and enter the sip port 5060 or 5070
Leave the Outbound Proxy Blank
Enter you voice channel amount default 2 for each Customer Account.
Section Authentication
On Authentication Type Select Register/Account based
On Authentication ID Enter your SIP Device
On Authentication Password Enter your SIP Device Password
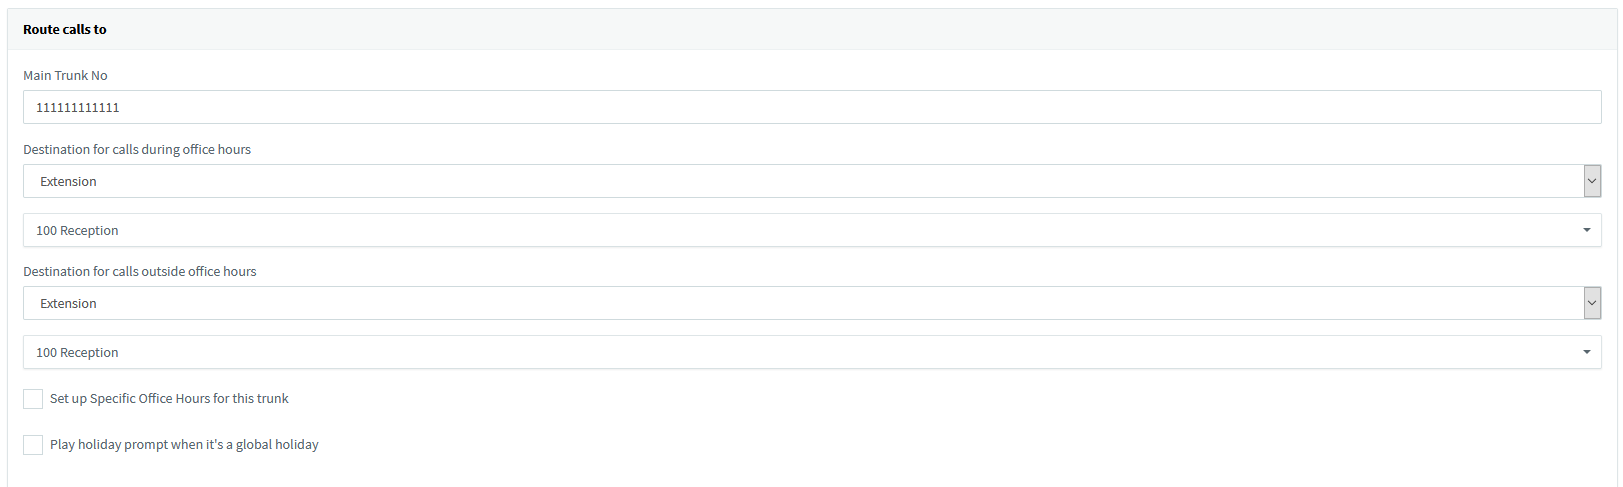
Section Route calls to
Select your call routing if you have only 1 DID for this Trunk assigned
On the DIDs tab
Section DIDs
If you have more then 1 DIDs for this Trunk add it here, then you can Manage the Routing from the “Inbound Rules” Menu

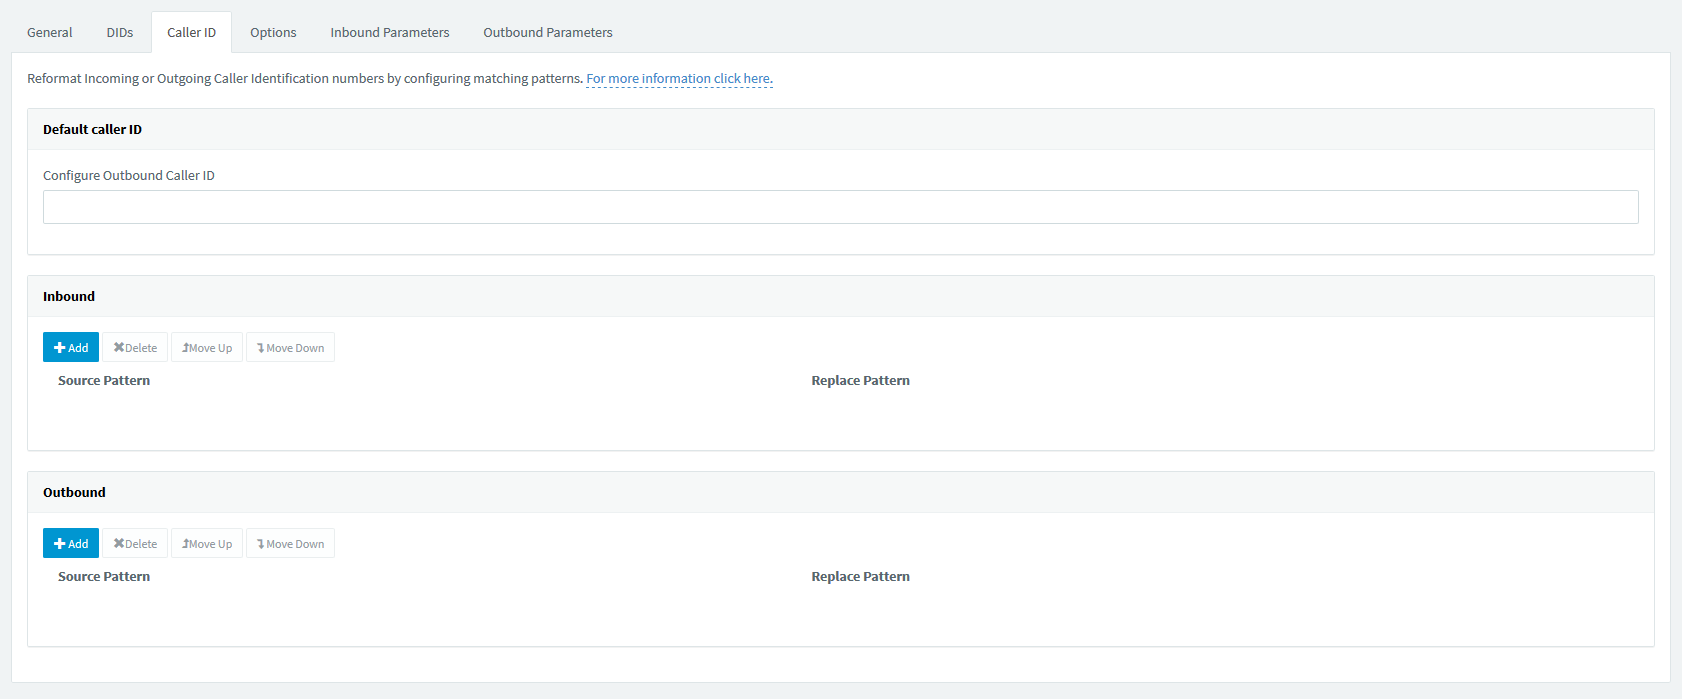
On the tab Caller ID
Section Default caller ID
Enter your Outbound caller ID
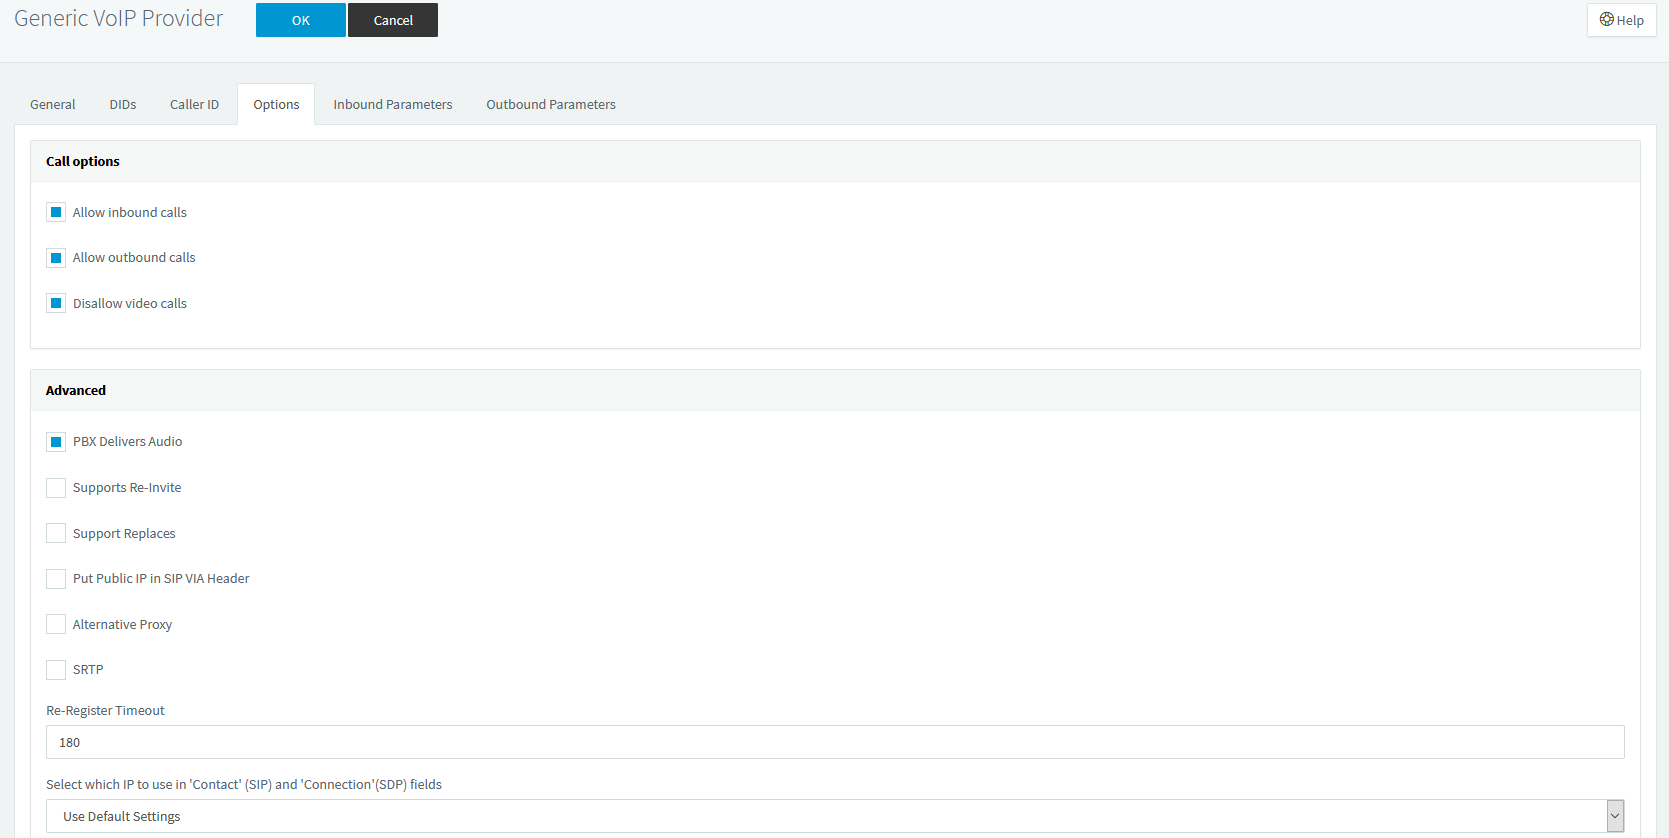
On the tab Options
On the sections Call options and Advanced Leave the Default values
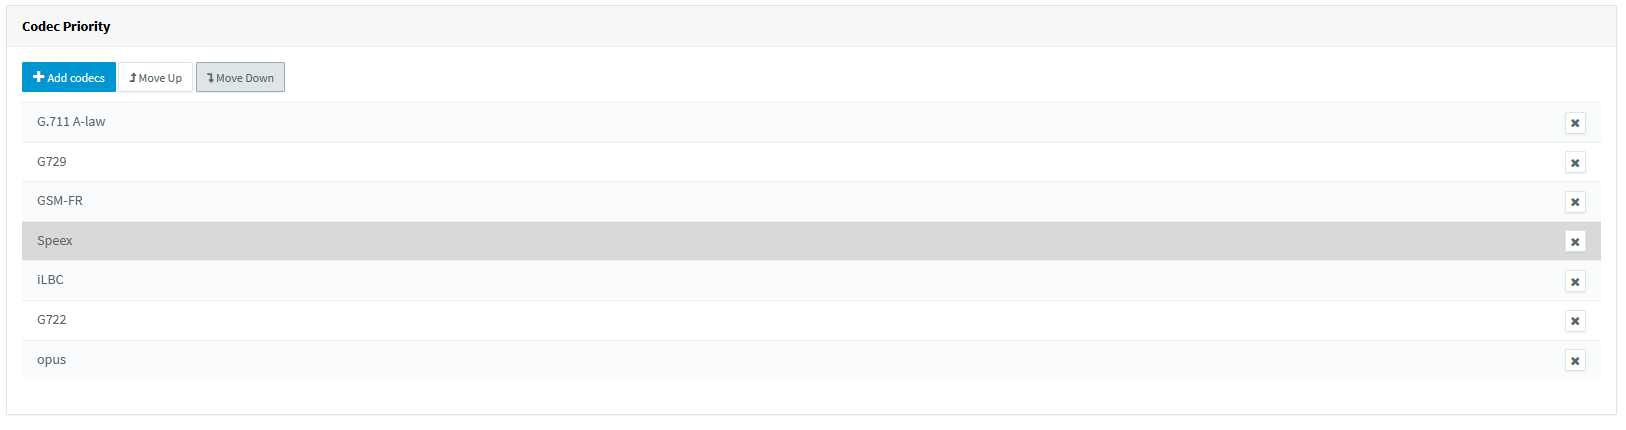
On the section Codec Priority
Delete the G.711 U-law or PCMU, and add any other Codec you wish.
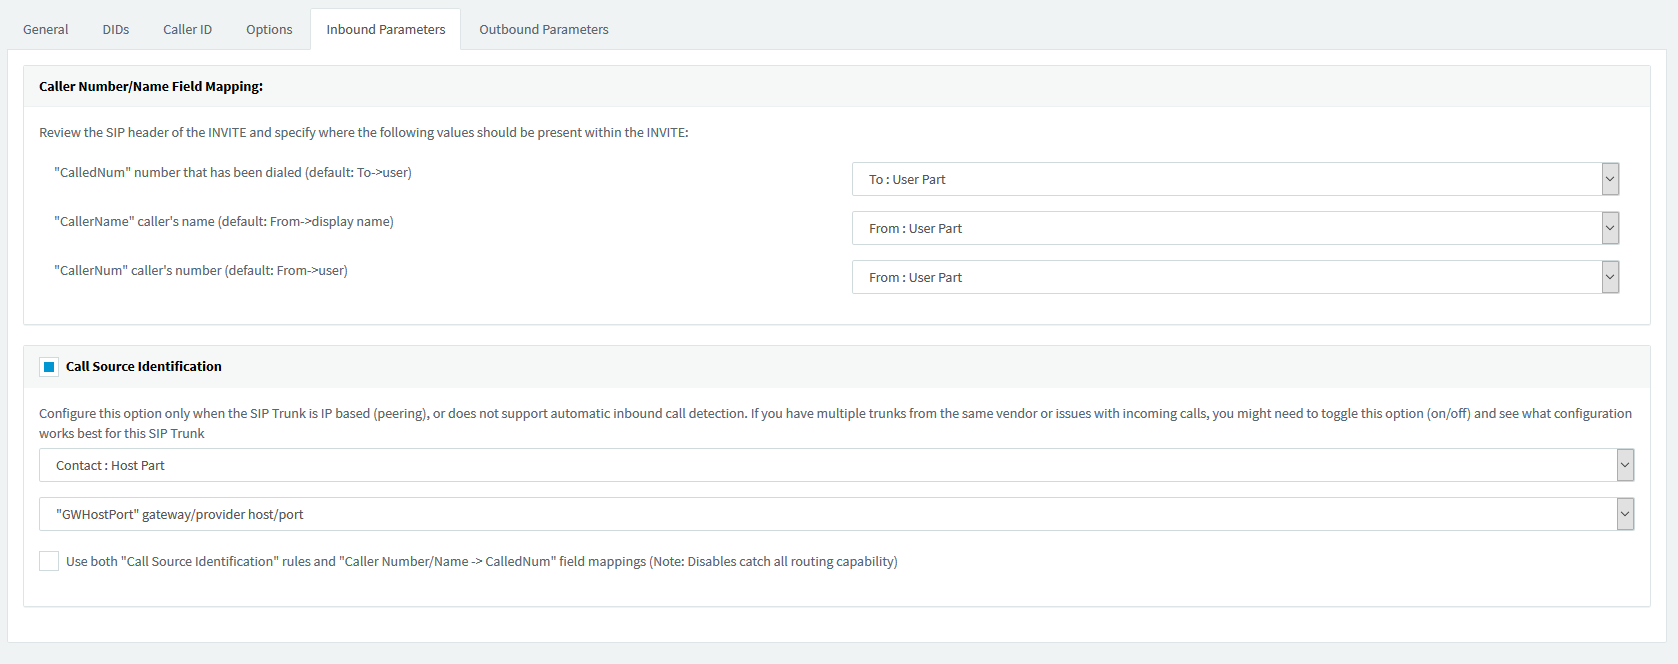
On the tab Inbound Parameters
Leave the Default values
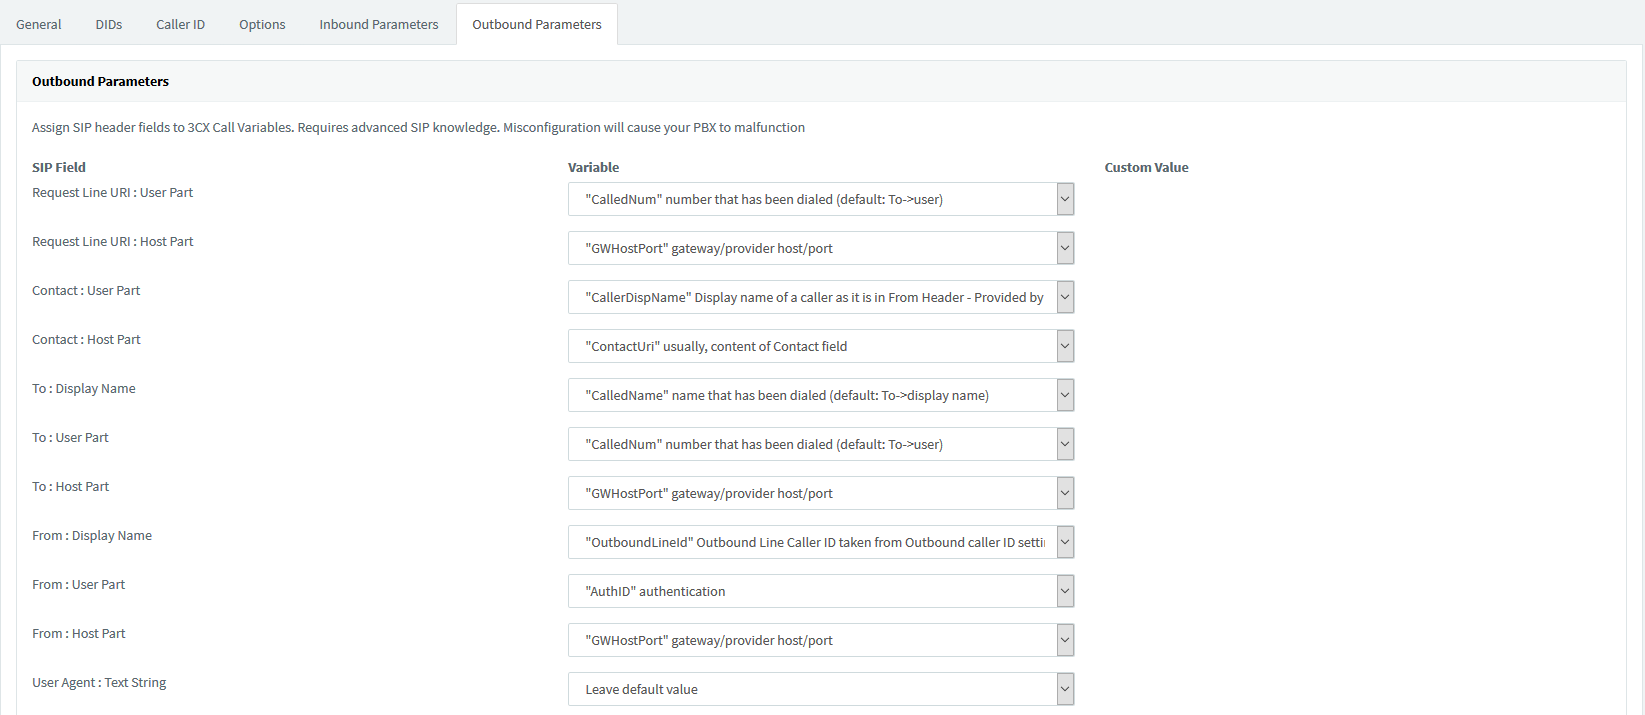
On the tab Outbound Parameters
On the SIP Field “From: User Part” select “AuthID authentication”